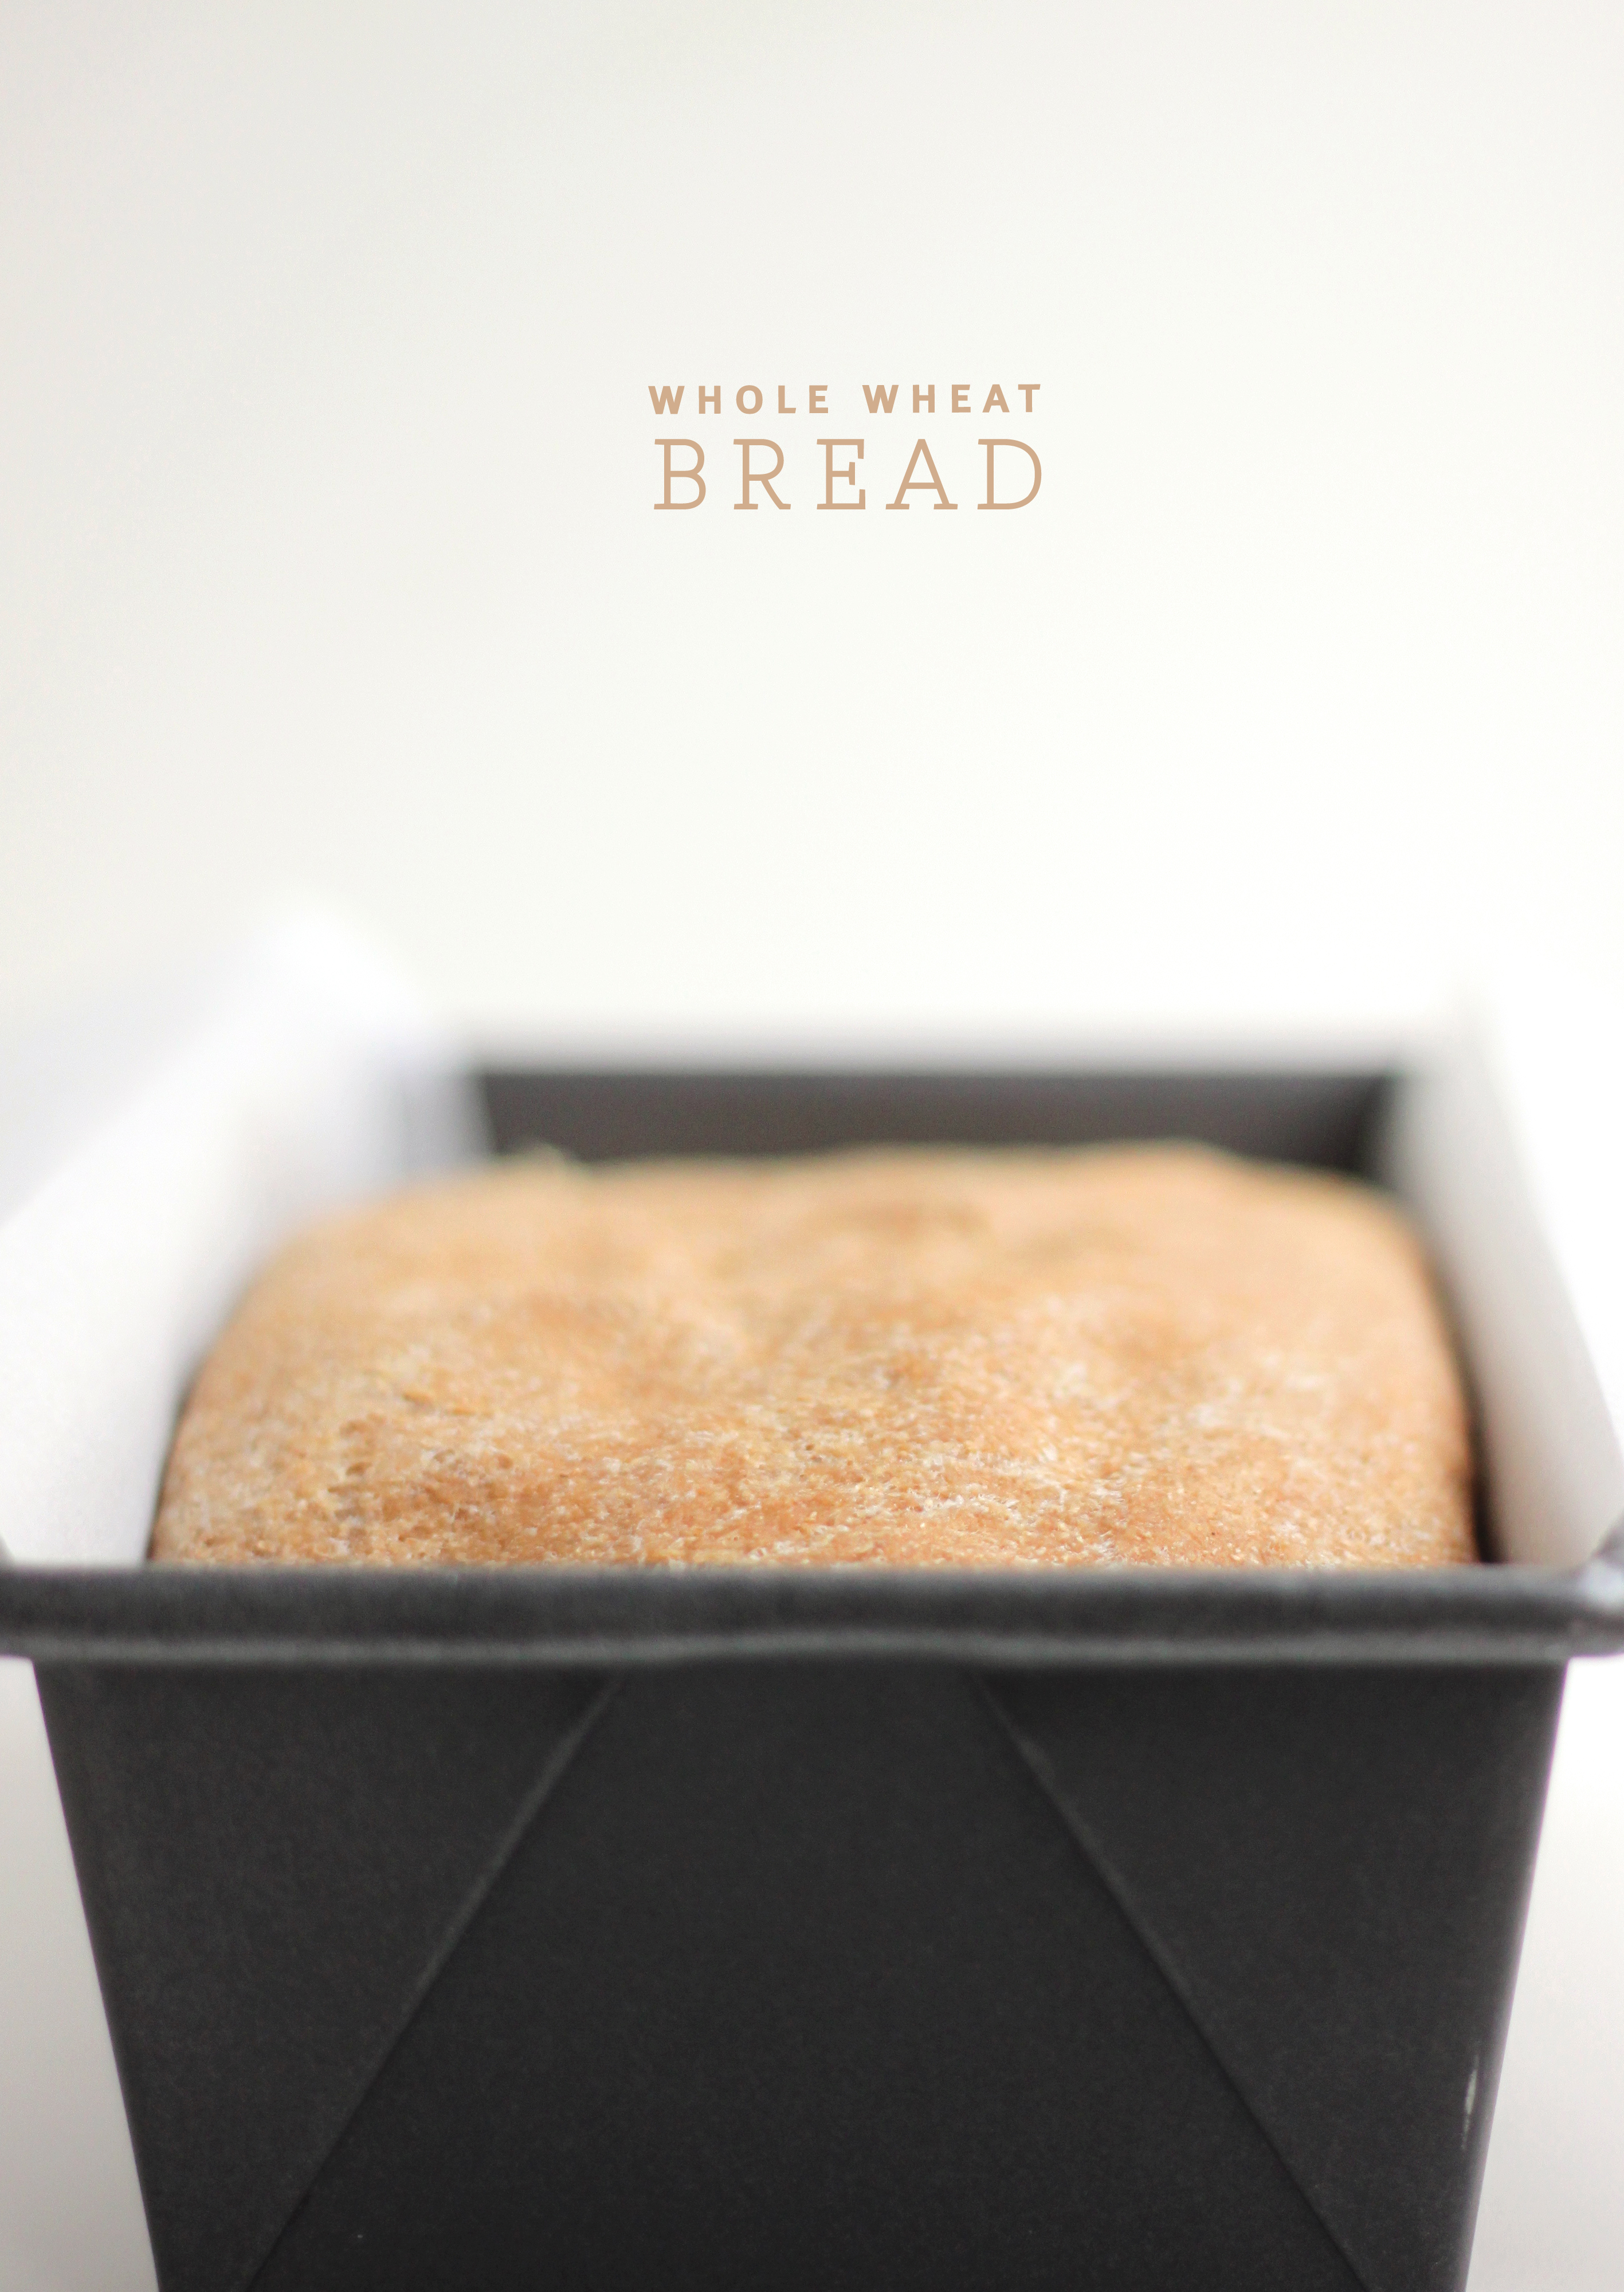
A tale of two loaves. The tale is simple and quick. Full of relaxation and getting errands done. Could this be a trick? A tall tale it’s not. So listen to me when I say—this is the easiest bread recipe(s) that may come your way.
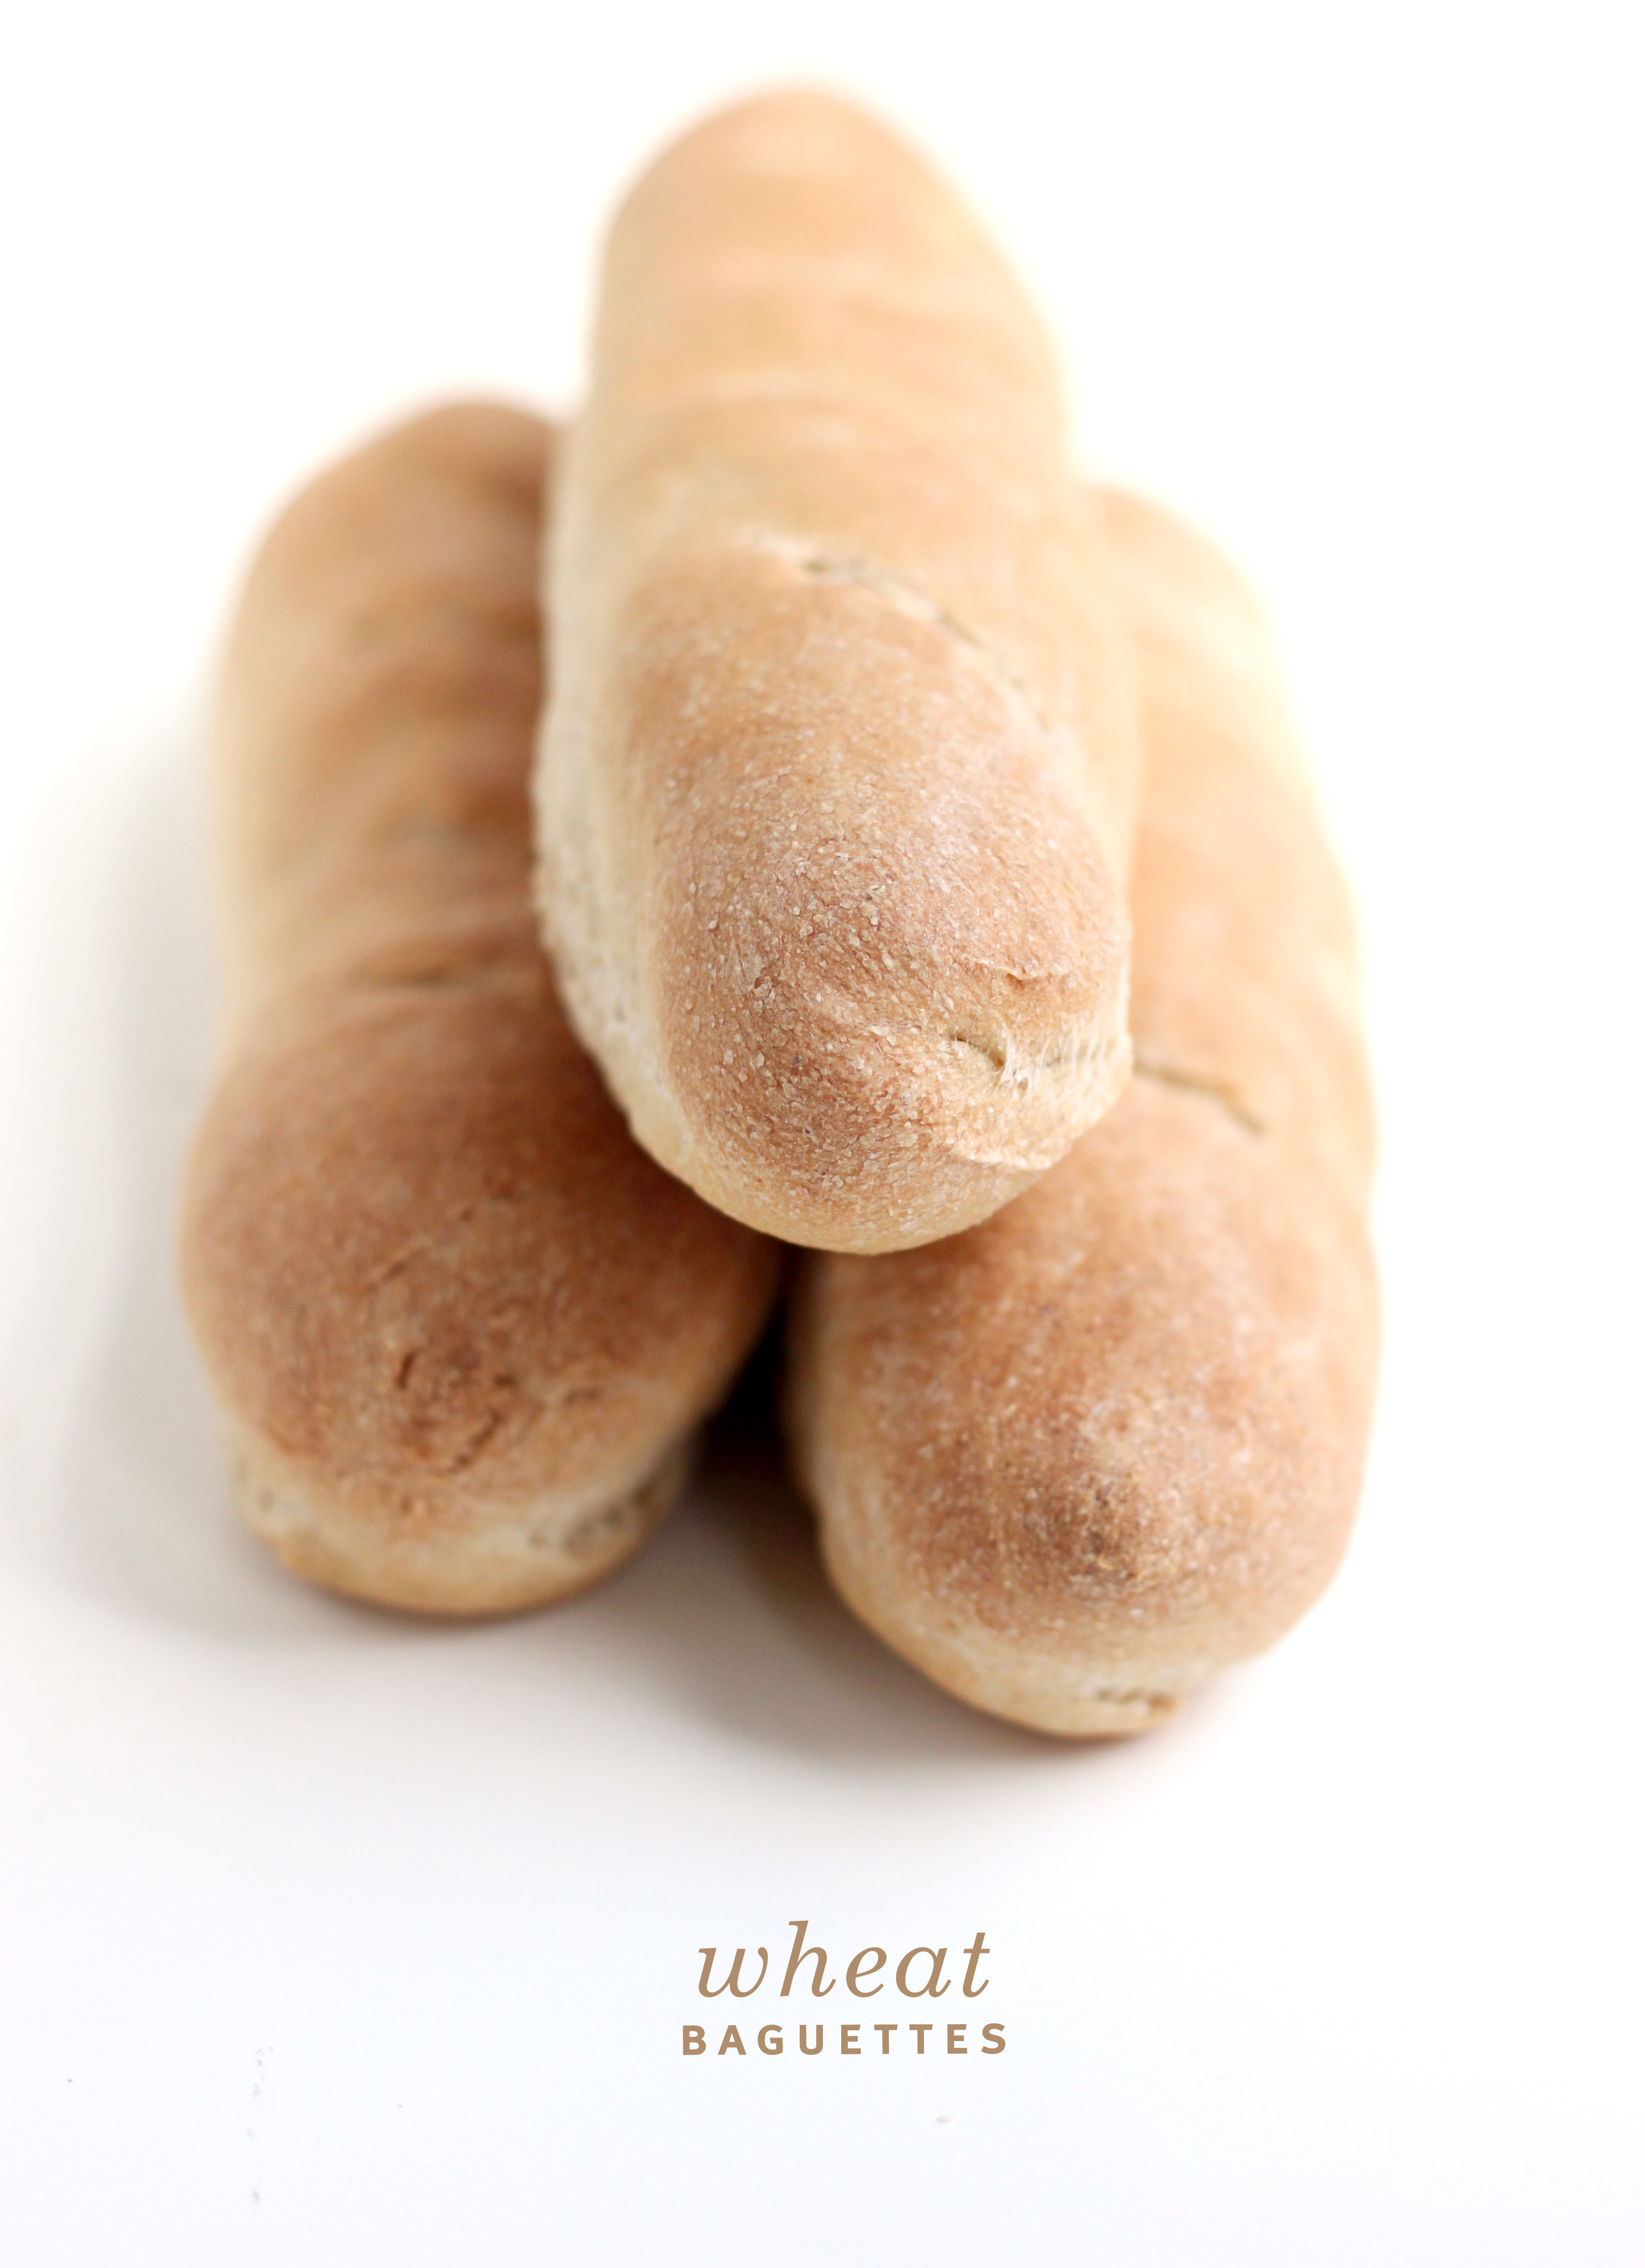
This tale is a tale of two whole wheat breads. One 100% and the other mostly. And when I said simple and quick, I meant it. This is a no fuss bread. Make it. Let it rise. Shape it. And bake it. That, my friends, is what I call a miracle. These days I’m craving miracles. Days. Days itching to extend their 24-hour period. Days filled with too many good things. Days that welcome simple recipes. Like these. I loved them both—the density and deep flavor of the whole wheat bread compared to the lighter yet familiar flavor of the baguettes. If I had to pick a winner, I’d go baguettes for their quick rise time that doesn’t compromise flavor. I’ll surely be making them again.
If you’re afraid of working with yeast, stay with me. I think these recipes will give you a friendly introduction. If you’re still afraid, I made this little video for you awhile back. It’s nothing fancy. I’m no expert on yeast by any means. But I love working with it. For some reason I like it’s unpredictability and it’s lively (no pun intended) personality.
I forgot to mention, it’s Food Matters Project Monday, and I happen to be hosting this week. Just a heads up—I’ve written the recipes a bit different than I normally do. They are verbatim from the cookbook with my changes below. To see what other FMPers did, head on over here. And may the yeast be ever in your favor.
Combine the flour, yeast, and salt in a large bowl. Add 1 1/2 cups water and stir until blended; the dough should be quite wet, almost like a batter (add more water if it seems dry). Cover the bowl with plastic wrap and let it rest in a warm place for 12 hours (or up to 24). The dough is ready when its surface is dotted with bubbles. Rising time will be shorter at warmer temperatures, a bit longer if your kitchen is chilly.
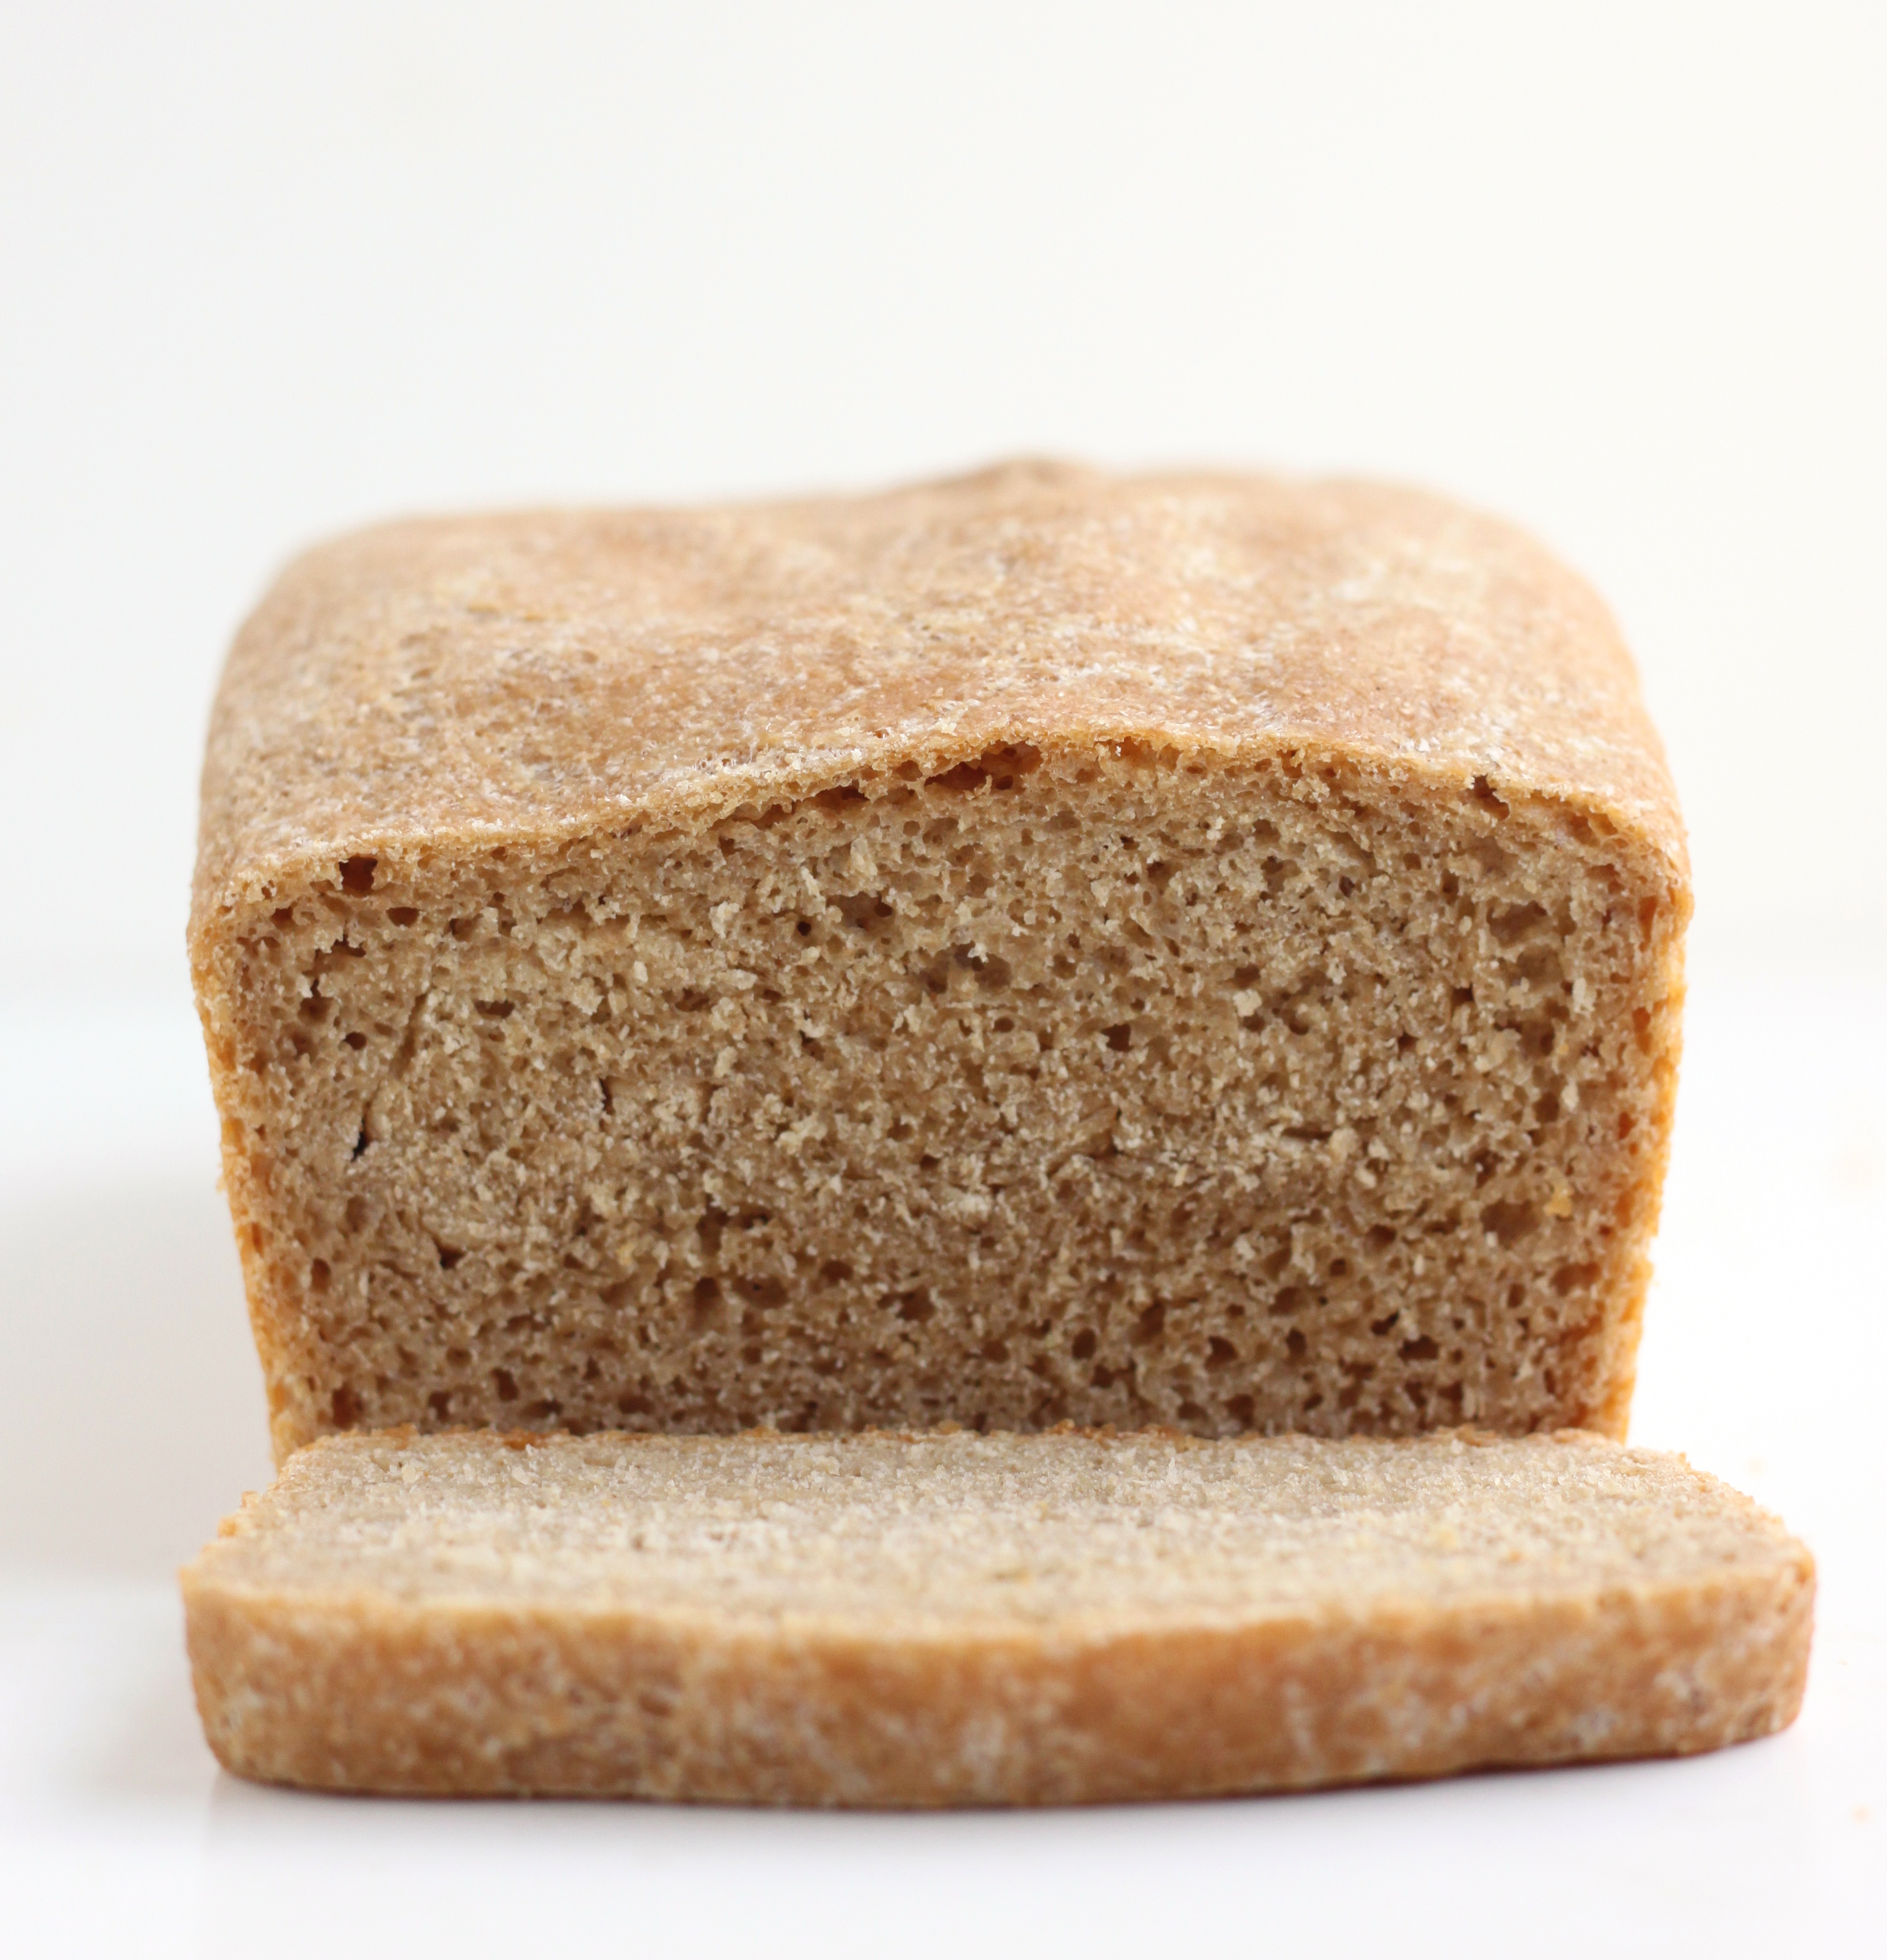
Use some of the oil to grease a 9 x 5-inch loaf plan. Scoop the dough into the loaf pan and use a rubber spatula to gently settle it in evenly. Brush or drizzle the top with the remaining oil. Cover with a towel and let rise until doubled, an hour or two depending on the warmth of your kitchen. (It wont reach the top of the pan, or will just barely.) When it’s almost ready, heat the oven to 350°.
Bake the bread until deeply brown and hollow sounding when tapped, about 45 minutes. (An instant read thermometer should register 200° when inserted into the center of the loaf.) Immediately turn out the loaf from the pan onto a cooling rack and let it cool before slicing.
Notes
• To speed up the process, increase the yeast to 1 1/2 teaspoons and reduce the first rise to 2 hours and the second rise to 1 hour.
• I always proof (test) yeast before adding it into the flour. To do so, add yeast to 1/2 cup of warm water with a dash of sugar and let sit for 5 minutes. (Sugar helps the yeast to grow.) Once the yeast becomes foamy, add to the flour along with the rest of the water. This lets me know my yeast is alive before wasting flour (which I have done too many times).
• I added a tablespoon of honey to cut the bitterness of the wheat. I recommend adding 2 tablespoons in hindsight.
In a food processor, combine the flours, salt, sugar, and yeast. (You can mix the dough by hand, but it will take longer; use a big bowl and a wooden spoon or sturdy rubber spatula.) With the machine running, pour about 1 1/2 cups water through the feed tube. Process until the dough forms a ball, adding one tablespoon more water at a time until it becomes smooth. You want a pretty wet but well-defined ball. The whole process should take 30 to 60 seconds. If the dough becomes too wet. add 1 tablespoon at a time and process briefly. Put the dough in a large bowl, cover with plastic wrap, and let rise at room temperature until doubled in size, at least one hour.
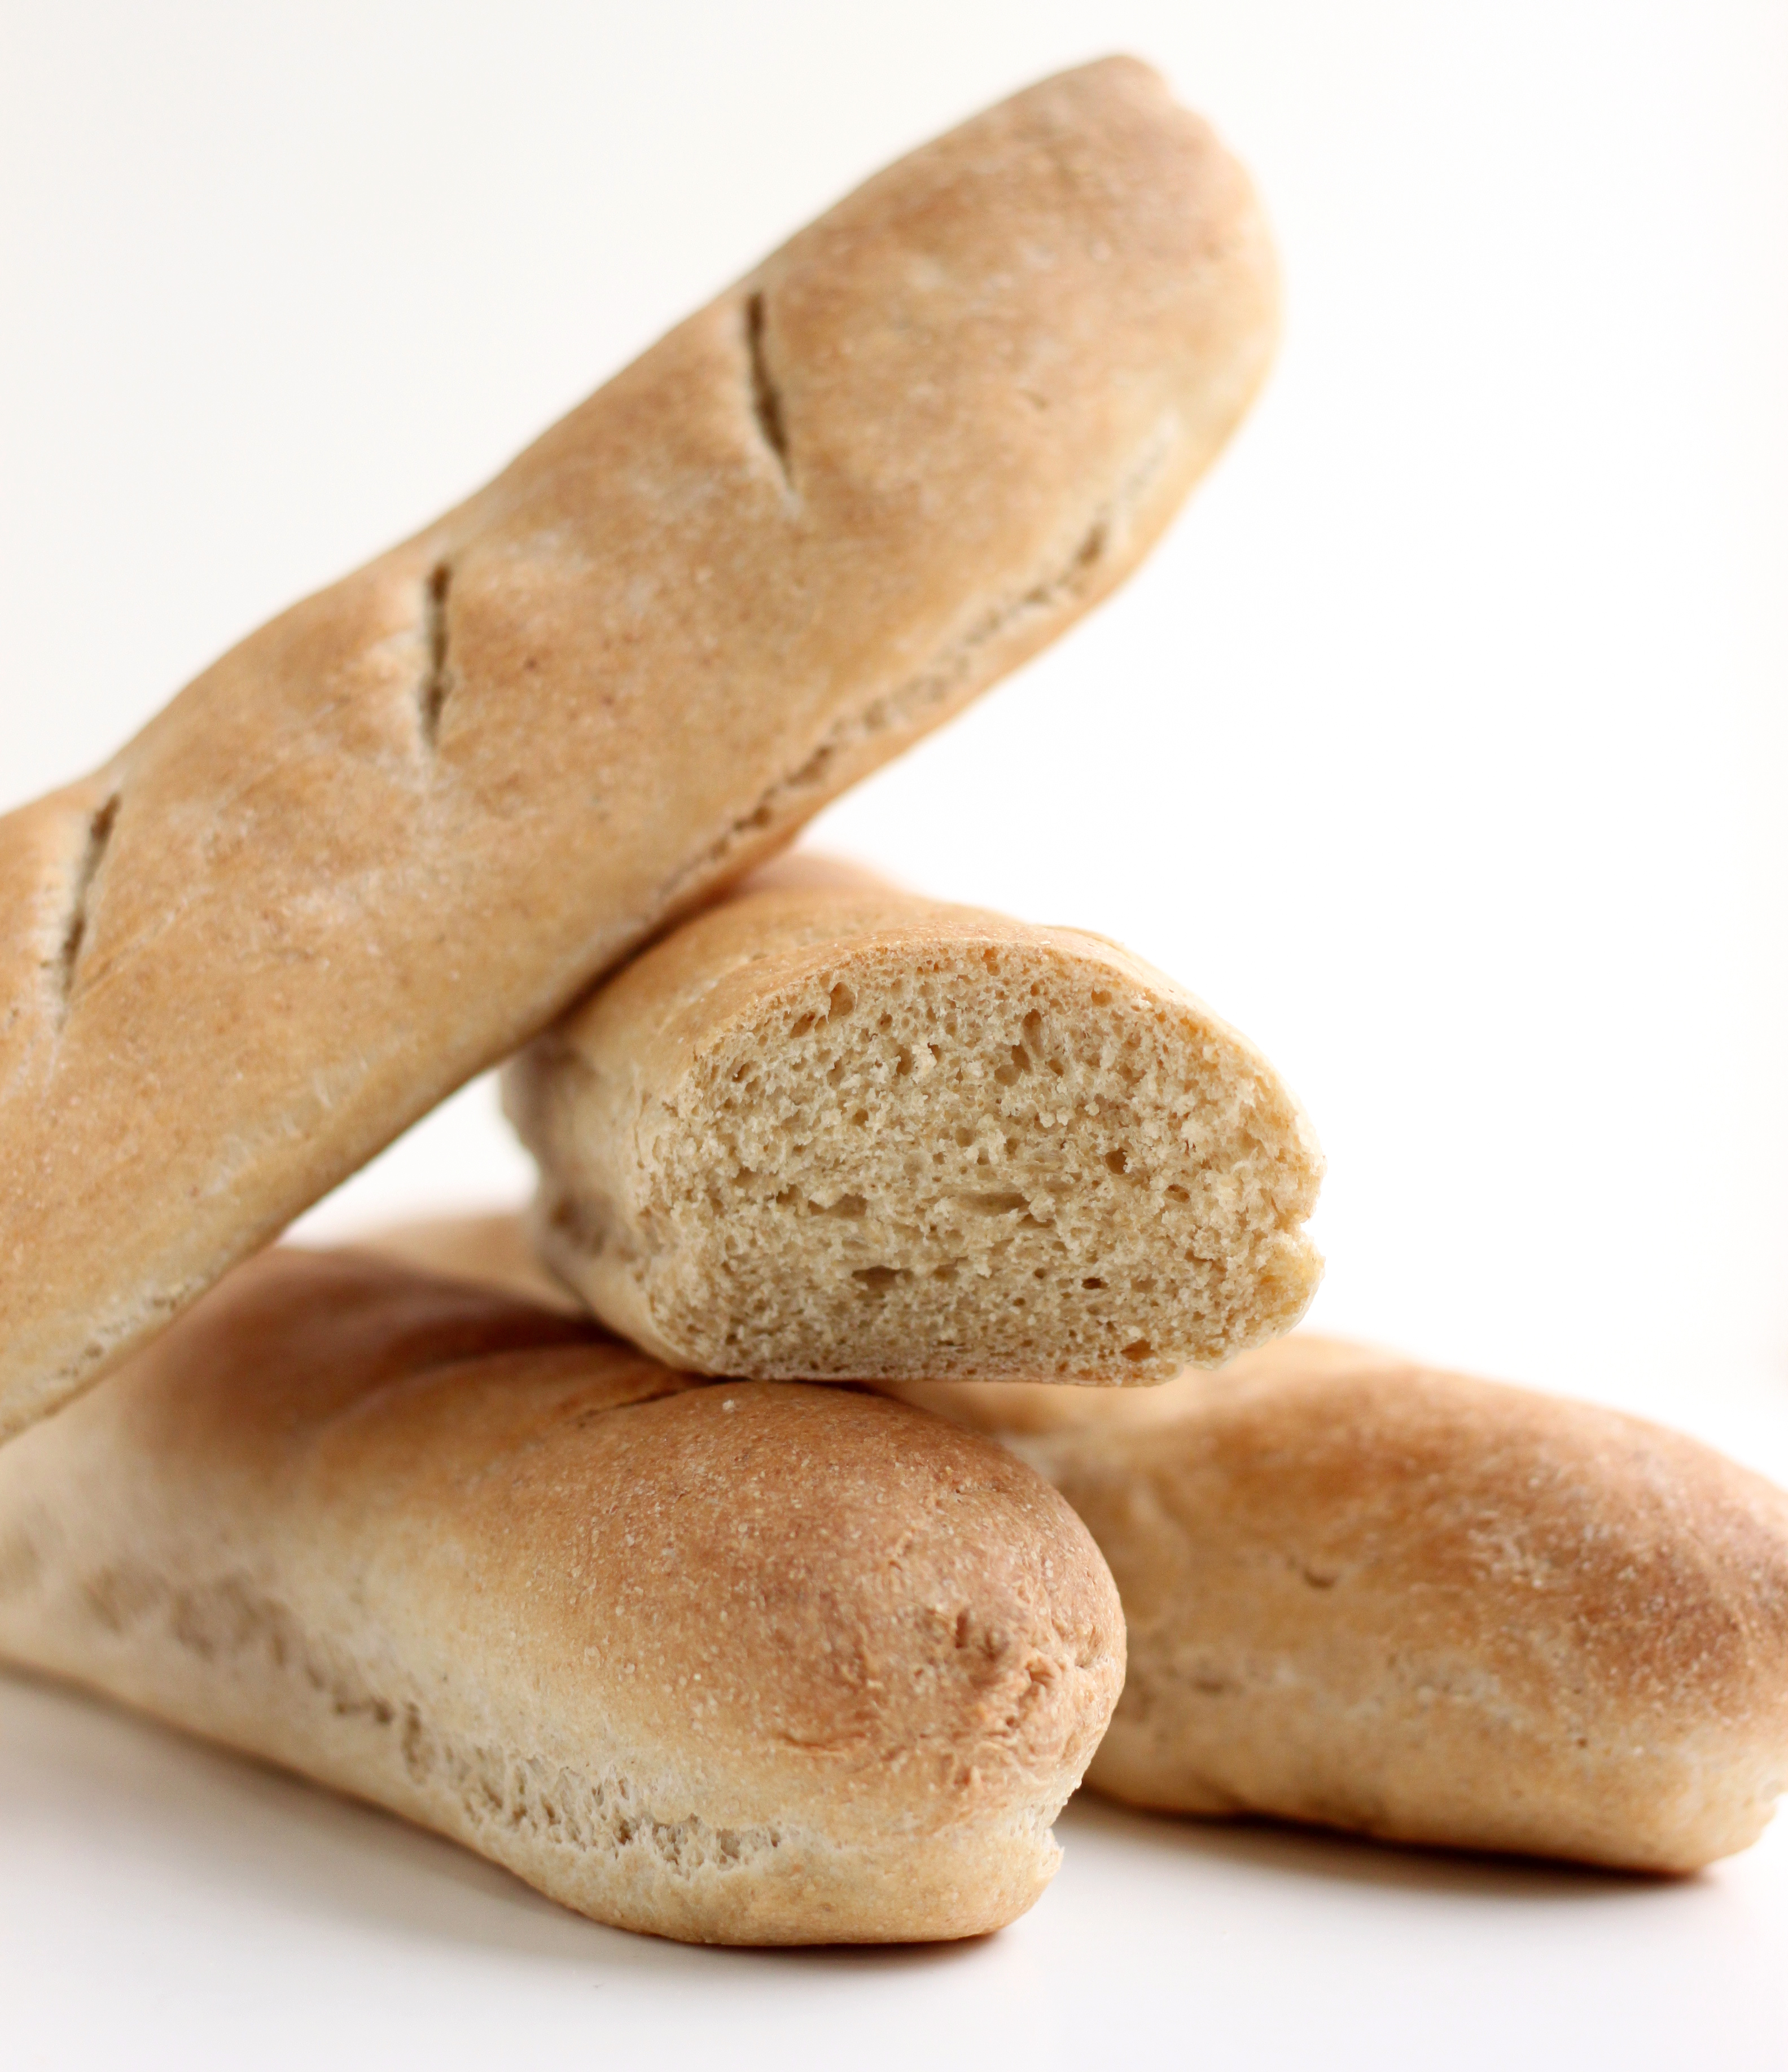
Lightly flour your work surface and hands and knead the dough a few times. For small baguettes, divide the dough into 4 pieces, for larger ones, make 2. Roll each piece of dough into a log of any length that will fit into your oven. If you plan to bake the loaves on a sheet pan, lightly grease it with oil and transfer the loaves to the pan. Cover with a towel and let rise until the loaves are puffed to almost twice their original size, 30 minutes or so. Heat the oven (with a pizza stone if you have one) to 400° while you let the baguettes rise.
When you’re ready to bake, slash the top of each loaf a few times with a razor blade or sharp knife. If you are topping the baguettes with seeds, brush each loaf with a little water and sprinkle them on. If you are using a pizza stone, gently transfer the loaves to the stone with a floured rimless baking sheet, lightly floured plank of wood, or flexible cutting board. Turn the heat down to 375° and bake until the crust is golden brown and the internal temperature is at least 210° (it can be a little lower if you plan to reheat the bread again later) or the loaves sound hollow when tapped, about 30 minutes. Remove, spray with a bit of water if you would like a shinier crust, and cool completely on a wire rack before slicing.
Notes
• I used a mixer with a dough hook to mix the dough.
• I always proof (test) yeast before adding it into the flour. To do so, add yeast to 1/2 cup of warm water with a dash of sugar and let sit for 5 minutes. (Sugar helps the yeast to grow.) Once the yeast becomes foamy, add to the flour along with the rest of the water. This lets me know my yeast is alive before wasting flour (which I have done too many times).
• I recommend slashing the dough after shaping the dough at the start of the second rise so that it can stretch a bit. Also, be sure to cut deep enough, about 1/2?. I was timid as you can tell.
Recipe Card powered by
Recipe from Mark Bittman.
PS—Did you catch my post over at Mint last week? PPS—Vote for Cookie and Kate in the Saveur Food Blog Awards!
This blog is made possible by your support (thank you), select brand partnerships, advertisements, and affiliate links to items I love and use. READ MORE >
I’ve never tried subbing in honey for sugar in this recipe, so I’m not quite sure the answer to this question. You’ll have to let me know what you end up trying!
Hi! I just discovered your blog and it’s great. I’m French and I’ve been living in New York for six month now, and I’ve been craving for baguettes since I got here… So I tried your receipe but… It didn’t work out! My baguettes didn’t rise in the oven. They did before, but not during the cooking time. And now they’re hard like stones! Any idea of what i could have done wrong? Thanks!
Hi Caroline! Thanks for stopping by. I’m super bummed it didn’t work out. The bread doesn’t rise a whole lot in the oven. The weight of the wheat flour seems to keep it from rising as much as white flour. But I’m not quite sure why it’s hard as a rock. It could be the yeast not being fully activated. Or maybe too much flour? Not 100% sure. Anyone else have ideas?
Thanks for your answer. I tested the yeast as you recommended and I think it was activated. Maybe it is too much floor. Maybe my oven was not hot enough. Anyway, I guess I’ll try again, because I reaaally need my baguette 🙂
So, one of my friend’s emailed me saying that she uses a teaspoon each of Vital Wheat Gluten and powdered soy lecithin per loaf. She uses all whole wheat and her bread rises beautifully. I’m going to have to try this. In the meantime, I also love this recipe from King Arthur Flour. I haven’t tried it, but this one looks good too.
This looks absolutely perfect!! I’ve been in search of a delicious {and vegan!} whole wheat bread recipe, with no real luck. But it looks like I hit the jackpot! You rock!!
There is something about making homemade bread that is so comforting to me. And of course, eating it is my favorite part! These both look absolutely perfect!
Though my brand new food processor quit working whilst I was adding the additional flour (blerg), the baguette turned out tasty! This will be my new go-to wheat baguette recipe for sure! 🙂
Baguettes are my favorite type of bread. It’s great that this is a wheat version, because it’s so hard to incorporate healthy items in one’s diet everyday. Thanks for sharing!
I love short and sweet bread recipes – these are the type I can follow! As a non-bread baker, the simple recipes really appeal to me. I love the two different methods – always nice to have options…One for slathering butter and jam on, the other to make a baguette type of sandwich out of! Great thinking!
What a perfect recipe to choose! I’m so glad that you did- gave me the push to try a yeast recipe. I’m amazed at how beautiful your loaves turned out, very jealous! And thanks for the video- although I’m not as scared, it’s great to see a little info if I’m doing everything correctly!
I am so glad you made these loaves because I was eyeing them all weekend, but wondering if I had the time. Now that I know how simple they are, and how much enjoyed them…I am SOLD! This will make the perfect vehicle for my avocado toast.
Your photos are absolutely gorgeous! Great tips about adding sugar and honey… I am a newbie with all these yeast recipes! Thanks for hosting this week!
Your breads are beautiful! I was itching for the 24 hour period to be over but the patience sure paid off! Thank you for the honey tip, will make sure to do that next time. 🙂
Your loaves look perfect. And you make it look so easy, I might have to get myself off the computer to make some… it would smell so good right now. And whole wheat too … mmmm….
Beautiful photos of beautiful bread! I got such a kick out of watching you wave those loaves around in the air this weekend. I think I added too much water to my baguettes and they turned out much wider than they are tall. Tasty, though! Thank you so much for the Saveur nom shout-out, too.
P.s. don’t forget to add your link to the FMP comments, I don’t see it there!


Can you use this bread recipe for crock pot bread?
I’m not sure. I’ve never tried making bread in the crock pot. Sounds interesting though!
I can’t add honey to my bread, can I just use sugar? If I can, how much? THanks for the easy recipe 😀
I’ve never tried subbing in honey for sugar in this recipe, so I’m not quite sure the answer to this question. You’ll have to let me know what you end up trying!
I’ve looked around and I keep finding people saying you can just replace honey with the same amount of sugar or brown sugar plus add 1/4 c of liquid
I have always wanted to make home made bread with yeast but afraid of it. this recipe sounds like something I could do. thanks for sharing.
I just returned from a week in Paris, so saying the word “baguette” gets my attention. Thanks for sharing what looks to be an easy option!
Hi! I just discovered your blog and it’s great.
I’m French and I’ve been living in New York for six month now, and I’ve been craving for baguettes since I got here… So I tried your receipe but… It didn’t work out! My baguettes didn’t rise in the oven. They did before, but not during the cooking time. And now they’re hard like stones! Any idea of what i could have done wrong?
Thanks!
Hi Caroline! Thanks for stopping by. I’m super bummed it didn’t work out. The bread doesn’t rise a whole lot in the oven. The weight of the wheat flour seems to keep it from rising as much as white flour. But I’m not quite sure why it’s hard as a rock. It could be the yeast not being fully activated. Or maybe too much flour? Not 100% sure. Anyone else have ideas?
Thanks for your answer. I tested the yeast as you recommended and I think it was activated. Maybe it is too much floor. Maybe my oven was not hot enough. Anyway, I guess I’ll try again, because I reaaally need my baguette 🙂
So, one of my friend’s emailed me saying that she uses a teaspoon each of Vital Wheat Gluten and powdered soy lecithin per loaf. She uses all whole wheat and her bread rises beautifully. I’m going to have to try this. In the meantime, I also love this recipe from King Arthur Flour. I haven’t tried it, but this one looks good too.
This looks absolutely perfect!! I’ve been in search of a delicious {and vegan!} whole wheat bread recipe, with no real luck. But it looks like I hit the jackpot! You rock!!
There is something about making homemade bread that is so comforting to me. And of course, eating it is my favorite part! These both look absolutely perfect!
Though my brand new food processor quit working whilst I was adding the additional flour (blerg), the baguette turned out tasty! This will be my new go-to wheat baguette recipe for sure! 🙂
Beautiful bread and amazing blog Melissa. Love it!
Baguettes are my favorite type of bread. It’s great that this is a wheat version, because it’s so hard to incorporate healthy items in one’s diet everyday. Thanks for sharing!
Your bread looks beautiful!
We made the whole wheat bread & it tasted good, but I wasn’t thrilled with the texture. I think the baguettes may be the way to go!
I can practically smell that baking! It looks so delicious. Can’t wait to try this over the weekend.
I love short and sweet bread recipes – these are the type I can follow! As a non-bread baker, the simple recipes really appeal to me. I love the two different methods – always nice to have options…One for slathering butter and jam on, the other to make a baguette type of sandwich out of! Great thinking!
Great pick! I do wish I would have made the baguettes though – they look fabulous. But i did get some might tasty croutons out of the bread!
very nice!
What a perfect recipe to choose! I’m so glad that you did- gave me the push to try a yeast recipe. I’m amazed at how beautiful your loaves turned out, very jealous! And thanks for the video- although I’m not as scared, it’s great to see a little info if I’m doing everything correctly!
Omg, I so so so love these loaves! I LOAVE THEM. Ohhhhh!
I am so glad you made these loaves because I was eyeing them all weekend, but wondering if I had the time. Now that I know how simple they are, and how much enjoyed them…I am SOLD! This will make the perfect vehicle for my avocado toast.
These both look great and your photos are so beautiful! I just came across your blog and I love it!
Oh, I really like this post. Love the “tale” – and I love those pizzas you did last week! How did I miss those?
Gorgeous looking loaves!
Lovely as always, Melissa.
{and, always getting more amazing? your work has been over the top beautiful lately}
I seriously need to get bread baking! These both sound fabulous…I can’t decide which one to try first!
Pinned these this morning! Can’t wait to try the recipe!
Gorgeous photos of the most perfect breads!!! I’m so nervous to try my own bread, but you’re inspired me 🙂
Simply perfect and stunning pictures too.
Gorgeous – I’m going to try both versions. Thank you!
Yum! Those baguettes look amazing. I will definitely give this recipe a try. 🙂
Your photos are absolutely gorgeous! Great tips about adding sugar and honey… I am a newbie with all these yeast recipes! Thanks for hosting this week!
Gorgeous loaves, Melissa. I love homemade bread, especially because I love knowing every ingredient. This looks dreamy!
Your breads are beautiful! I was itching for the 24 hour period to be over but the patience sure paid off! Thank you for the honey tip, will make sure to do that next time. 🙂
Your loaves look perfect. And you make it look so easy, I might have to get myself off the computer to make some… it would smell so good right now. And whole wheat too … mmmm….
Can’t WAIT to give the wholewheat loaf a go! Thanks for posting!
absolutely gorgeous. i will definitely follow your tips when i try this recipe!
I love how you cut the rise time and made this recipe into something so simple! I will absolutely use this recipe and process to make my next loaf!
Beautiful photos of beautiful bread! I got such a kick out of watching you wave those loaves around in the air this weekend. I think I added too much water to my baguettes and they turned out much wider than they are tall. Tasty, though! Thank you so much for the Saveur nom shout-out, too.
P.s. don’t forget to add your link to the FMP comments, I don’t see it there!
Days with too many good things! Yes to that. I love me a simple and wholesome bread recipe. And the smell! Super good-things territory right there.
Both your loaves look lovely! There’s honestly nothing better than the smell of freshly baked bread, except maybe the taste 🙂